
First, credit where credit is due: I did not come up with this idea myself. I saw it HERE thanks to Pinterest and adapted it to my available materials and added a few of my own touches (see the Permanent Roll below). If you are not crafty yourself, that blogger has an Etsy Store where you can buy the towels directly from her (the link is on the top of the page).
Creating the "Paper Towels"
Materials:
- 5 cheapo washcloths (I purchased mine on Black Friday from Target for $2 per package of 8.
- Enough fabric to cover all five washcloths (I bought one of those coordinating tie dyed fabric sets from Michaels, in shades of green)
- 10 sets of snaps (10 each male, 10 each female, 20 studs)
- Snap tool (I bought the cheap plastic one that requires a hammer, not the pliers, and after making two sets of these towels, I already need a new one!)
- Sewing machine, thread, etc.
How To:
-
First, attach 2 snaps (the male side of each of two sets of snaps) to one end of the washcloth. Since I used metal snaps, I attached the snaps before sewing the fabric together, because I did not want the metal bracket on the outside. But if you use plastic snaps, that may not be necessary.

Cut a piece of coordinating fabric to the same size as the washcloth (the washcloth can act as your pattern and, if you pin the "pattern" in the proper orientation, you won't have to repin them later when it is time to sew).
Next, attach the two female sides of the snaps to the opposite end of the coordinating fabric.For example, if you have two male snaps on the left side of the washcloth, you should have two female snaps on the (back) right side of the coordinating fabric.I forgot to take a picture before sewing the two sides together, but the pictures below gives you the idea.


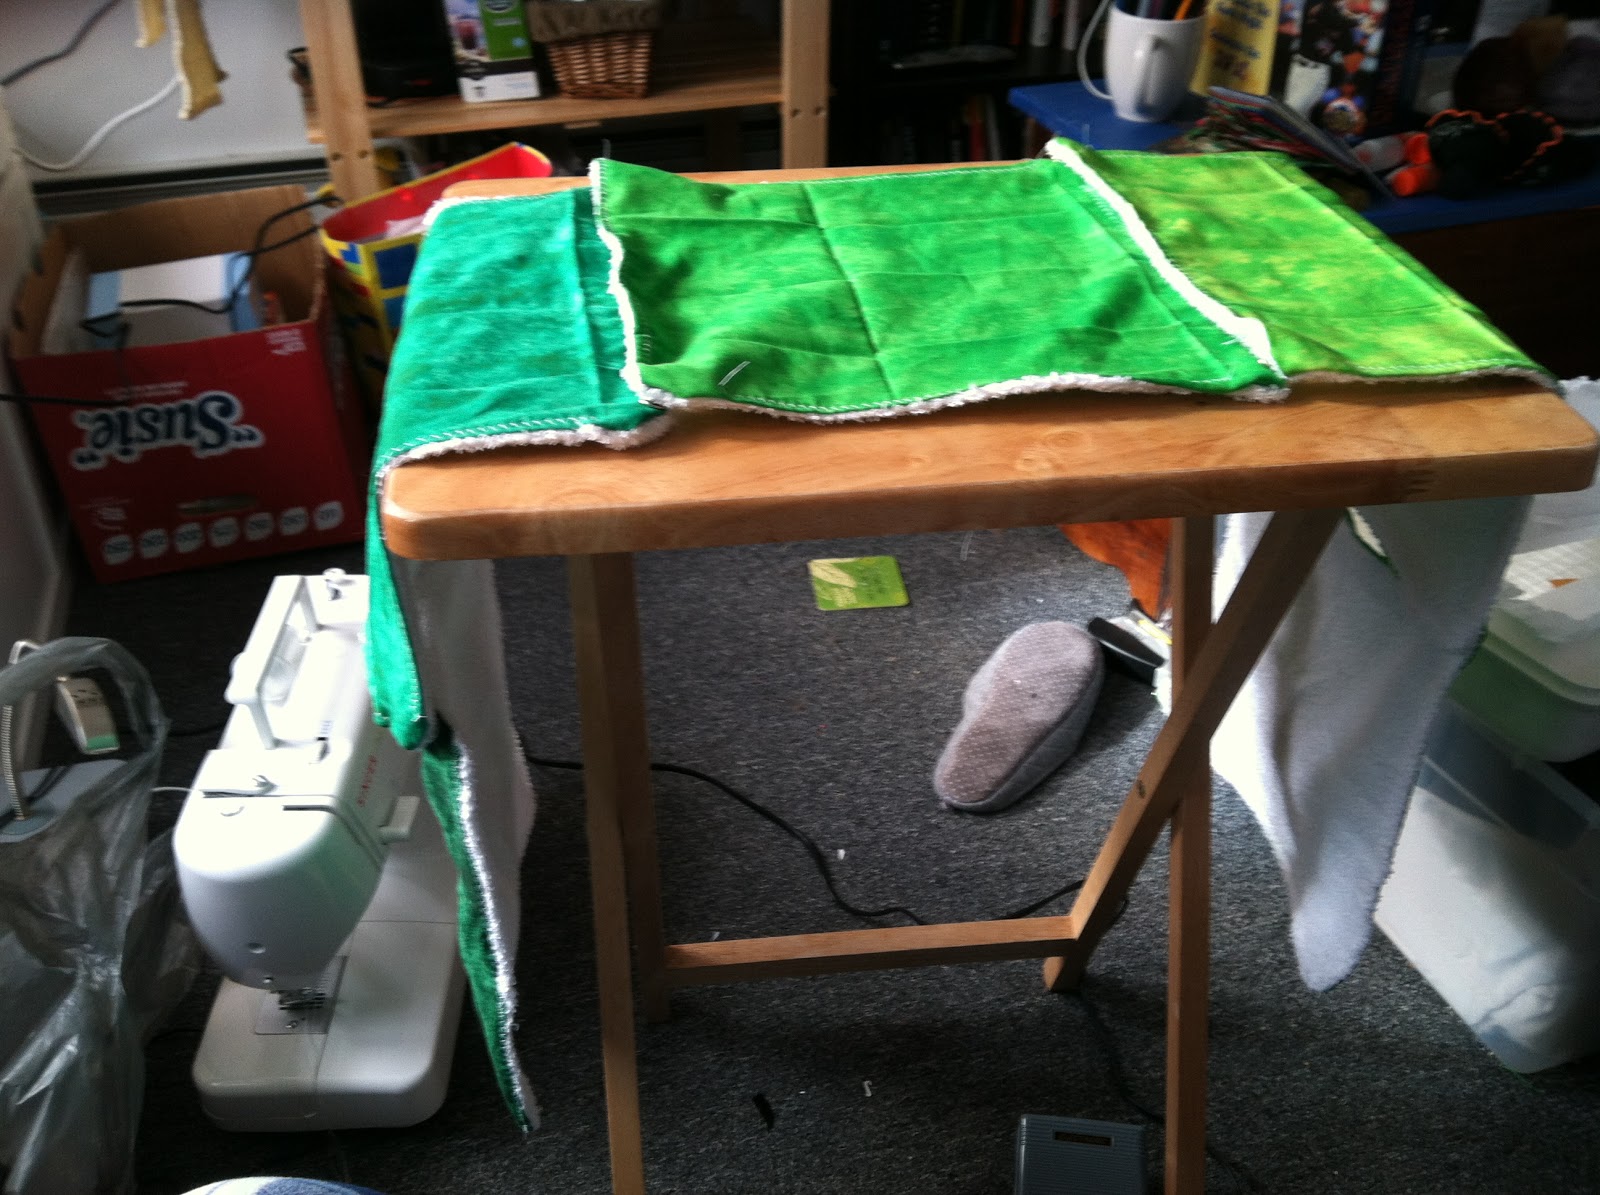
Sew the coordinating fabric and the washcloth together. Remember to leave a hole to turn it right-side-out. Also, Make sure that the usable sides of your snaps are facing INSIDE when you pin the fabric to sew it or you will have to pull it apart and start over!

Turn the towel right side out and sew around the edges to close up the opening. I like to use the zig zag stitch as my finishing stitch. I think its pretty, but its tough to keep exactly the same speed (and thus the same size zig zags) so mine sometimes end up looking a bit more "home made" as a result.
Repeat four more times with the other four washcloths. That will leave you with a roll roughly the same size as a roll of paper towels.
As an aside, I had a whole bunch of scraps left after I created this roll (which I am giving to a relative for Christmas this year) so I created a "quilted" version for myself out of the scraps that came out very cool! If I were to start over again, I would probably make some plan and some quilted for each set, but since the snaps are not in exactly the same place in the two sets (I learned that the towels lay better on the roll if the snaps are a bit further in after I made the first set), they are not interchangeable.
Optional: Create a Permanent "Roll" for Your Towels
Materials:
- Coordinating ribbon (you only need about a yard of ribbon and it should be thin, .25" or thinner)
- 2 sets of female snaps
- One 8.5" x 11" sheet of needlepoint canvas
How To:
-
First, lay the canvas out on top of one of your towels and make sure that it is slightly shorter than your towels. You don't want the canvas sticking out the top.
Mark the proper location for the snaps based on the location of the male snaps on the inner most towel.

Wrap the canvas around itself until you have a tube that is roughly the same size as the cardboard tube inside a "real" roll of paper towels. Trim any excess canvas.
Use the coordinating ribbon to "sew" the tube shut.
Mount your snaps to the ribbon and tie the ribbon around the canvas roll.

Note: I did this twice, once attaching the snaps directly to the canvas,
and once attaching the snaps to a piece of ribbon and tying the ribbon
around the canvas. The latter method was much easier and more stable.
Snap the first towel to the roll and wrap them up.
If its a gift (for someone other than yourself) add a bow and you're done.
.JPG)

.JPG)


.JPG)
.JPG)


